


If you’re eager to jump-start your gardening season, starting seedlings indoors is a fantastic way to get a head start. However, many aspiring gardeners have found that getting seedlings started indoors is often more complicated than expected.
But the reality is that by following a few simple steps for planting seeds indoors, you’ll be well on your way to a fruitful garden.
By providing the optimal growing conditions, you can nurture healthy and robust seedlings that will eventually thrive in your garden with consistent care. That’s what this guide is for!
In this guide, we’ll explore 10 tips for growing seeds indoors, including:
- • How to start seedlings indoors.
- • When to start seedlings indoors.
- • The perfect time to transition your seeds outside.
So, let’s dig in and discover how to start seedlings indoors successfully!
How To Start Seedlings Indoors
Step 1: Gather the Supplies
Before you begin, gather all the necessary supplies.
You’ll need:
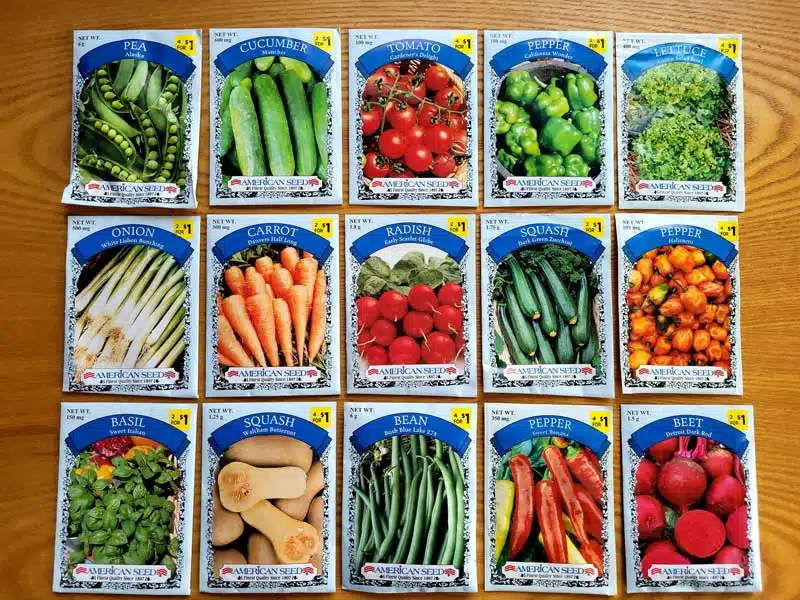
- • High-quality seeds.
- • Seed trays or containers with drainage holes.
- • Seed-starting mix.
- • Plastic wrap.
- • A spray bottle.
Optional supplies include grow lights, a heat mat, and a small table on which to place the plants. Once you have everything ready, you can proceed to the next steps.
Step 2: Prepare the Planting Area
Choose a well-lit location for your seedlings. If possible, place them near a south-facing window to maximize natural light.
If sunlight is limited, consider using artificial grow lights.
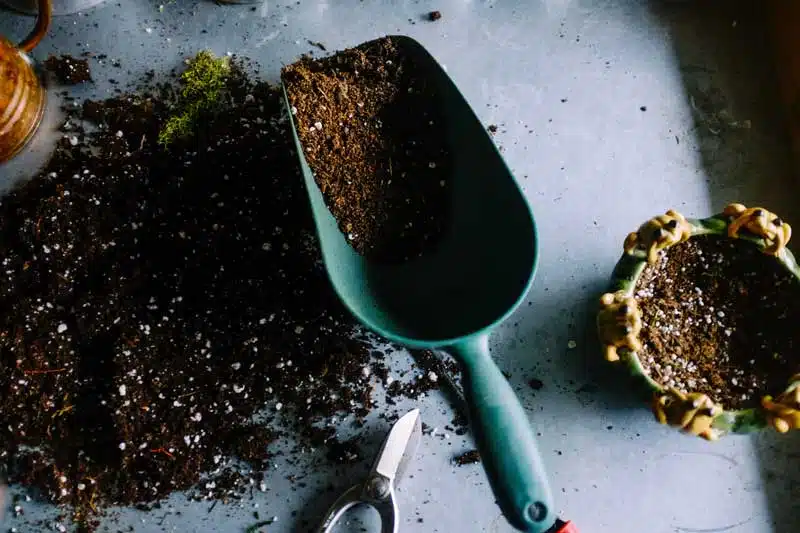
Prepare your seed trays or containers by filling them with a seed-starting mix, which is lightweight and well-draining. Moisten the mix with water until it feels evenly damp but not soggy.
Note: With such a large variety of potting mixes on the market, ensure you understand which mix is best for the seeds you are growing.
Tip 1: Place Seeds in the Optimal Growing Area
To kick-start the seedling journey, it’s crucial to designate the most optimal indoor growing area. This space will serve as a nurturing environment for your young plants until they’re ready to venture outdoors.
In addition to choosing a location near a window that receives ample sunlight, or using artificial lights, ensure that the area is well-ventilated, maintaining a consistent temperature between 65-75 F (18-24 C) for most seedlings.
Research the preferred soil temperature for your plant selection to germinate. Remember, providing adequate space will allow the plants to spread their roots and grow sturdy.
Step 3: Planting the Seeds
Follow the instructions on your seed packets for proper planting depth and spacing.
- • Make small holes in the planting mix using your finger or a pencil, and place one or two seeds in each hole.
- • Cover the seeds lightly with the planting mix and gently firm it down.
- • Mist the surface of the soil with water using a spray bottle to provide moisture without disturbing the seeds.
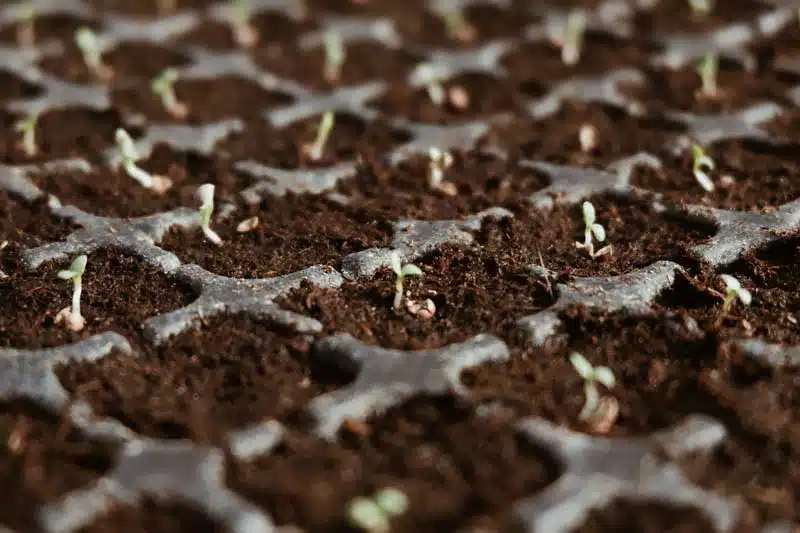
It is helpful to cover the trays with a clear plastic cover to create a mini-greenhouse effect that promotes germination. Garden centers usually carry these items or a tent structure can be made out of plastic sheeting.
Tip 2: Understand the Unique Sun & Temperature Requirements for Your Seeds
Seedlings rely heavily on sunlight for healthy growth, and it’s crucial you understand the proper amount needed for your seeds.
Place your trays near a south-facing window where they can receive at least six hours of direct sunlight each day. However, if sunlight is limited, supplement it with artificial light, such as fluorescent or LED grow lights, placed a few inches above the seedlings.
Additionally, ensure the temperature remains within the desired range mentioned earlier. A heat mat is a useful tool to maintain soil temperature and promote faster germination. Depending on your plant choice, a heat mat may be required to enable the seeds to sprout efficiently. Follow your seed packet instructions for the variety chosen.
Tip 3: Proper Watering Is Crucial for Success

Keep the soil consistently moist but avoid overwatering, as it can lead to damping-off disease.
Use a spray bottle or a gentle watering can to moisten the soil without causing disturbance. For small and delicate seeds, you may want to water from below by placing the seed trays in a shallow tray filled with water.
This method allows the roots to absorb moisture without risking damage to the fragile young plants. Monitor the soil moisture regularly and adjust the watering frequency accordingly.
Tip 4: Properly Fertilize Your Seedlings
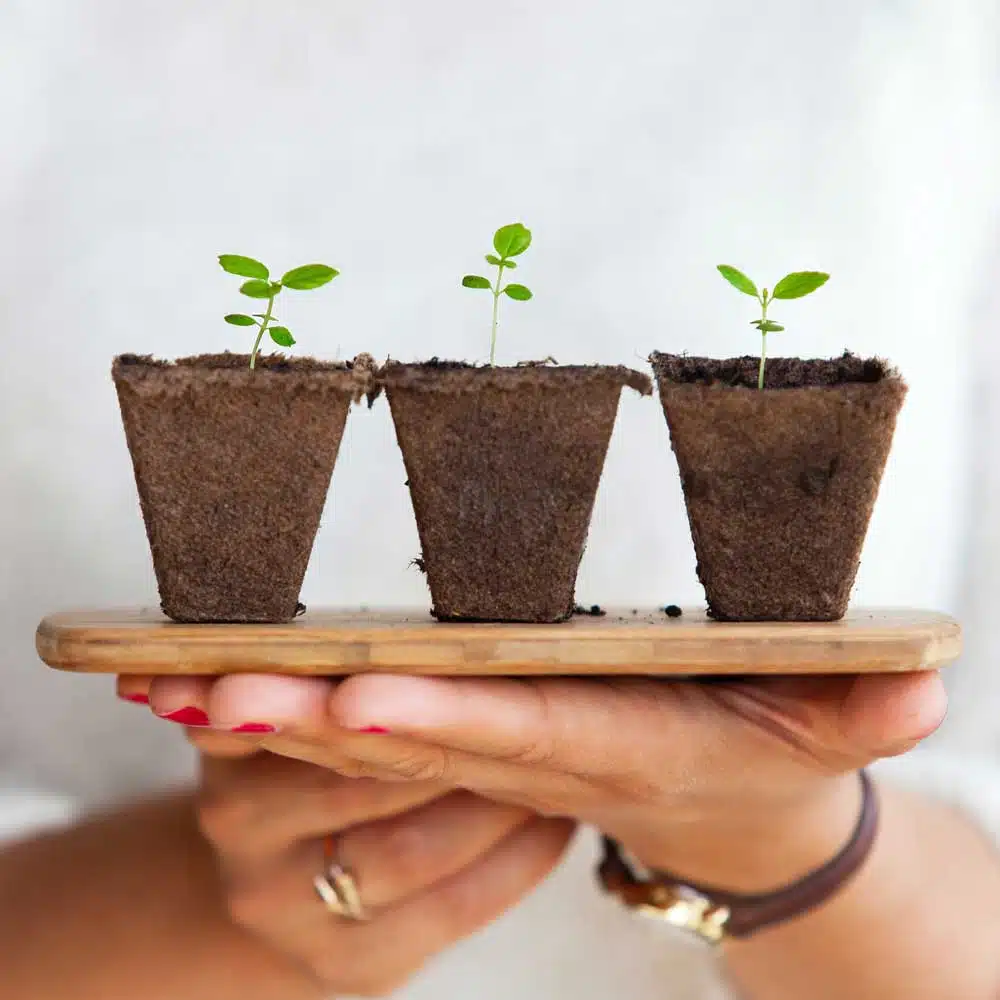
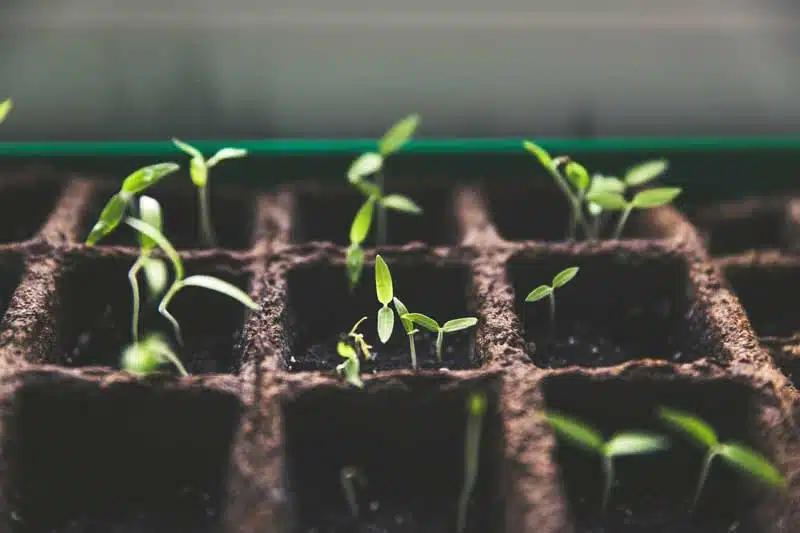
As the seedlings grow, they will develop sets of leaves known as “true leaves.” This will be the third and fourth leaf that the plant grows. At this stage, it’s time to provide them with some nourishment.
Dilute a balanced liquid fertilizer and apply it according to the manufacturer’s instructions. This added boost will help the young plants grow strong and healthy.
In addition, it is beneficial to provide gentle air circulation to promote sturdy stem development. Gently brush your hand over the seedlings a few times a day or use a small fan set on low to mimic outdoor breezes.
Help Your Plants Flourish This Season!
Topics Include:
— The 17 essential nutrients that every plant needs
— How to properly sample your soil nutrient content
— How to choose the right fertilizer
Download Our Plant Nutrient Basics Guide!
Learn how maintaining healthy soil and using a balanced fertilizer can help ensure that your plants are getting the nutrients they need to grow and thrive.
":" indicates required fields
Tip 5: Slowly Transition the Seedlings Outside
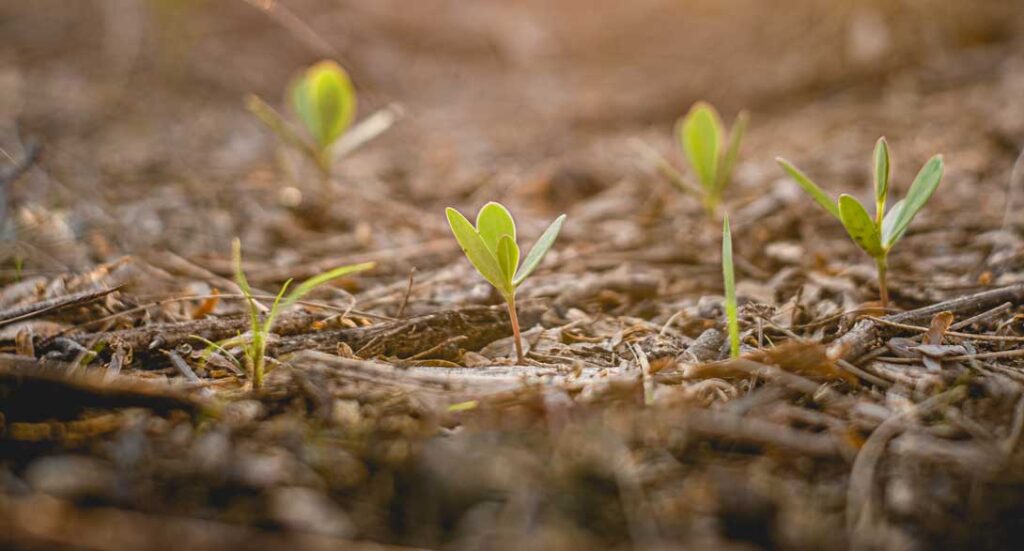
Once your seedlings have developed several sets of leaves and the threat of frost has passed, it’s time to harden them off and transition them outdoors.
Gradually introduce the seedlings to the outdoor environment by placing them outside for one to three hours each day, gradually increasing the time over a week or two.
Starting the hardening-off process in the shade will prevent sunburn on the plants’ tender leaves.
This process allows the plants to acclimate to:
- • The wind.
- • Temperature fluctuations.
- • Direct sunlight.
After this acclimation period, your seedlings will be ready for permanent outdoor planting and will have a higher chance of thriving in their new environment.
When To Start Seedlings Indoors
Many Gardeners struggle to start seeds indoors, and that is typically due to a misunderstanding of when to start their seedlings.
Timing is crucial when it comes to starting seedlings indoors and starting too early or too late can result in weak plants or missed planting opportunities.
By considering factors such as:
- • Frost dates.
- • Plant-specific requirements.
- • Desired planting time outdoors.
you’ll be able to establish a successful timeline for your seed starting endeavors.
Tip 6: Understand Local Frost Dates
Frost dates play a vital role in determining when to start seedlings indoors. These dates mark the average last frost in spring and the first frost in fall.
To find the frost dates specific to your location, consult your local agricultural extension office or use online resources. It’s important to note that seedlings should be strong enough to withstand transplanting outdoors after the last frost.
Plan to start your seedlings indoors 6-8 weeks before the last expected frost date to ensure they have adequate time to grow and develop.
Tip 7: Consider Plant Types for Deciding When To Start Seedlings
Different plants have varying requirements for indoor seed starting. Some seeds used for vegetable gardening, like tomatoes and peppers, benefit from an early start indoors to allow ample time for growth.
These warm-season crops typically need 6-8 weeks of indoor growth before transplanting.
On the other hand, cool-season crops, such as lettuce and broccoli, can be started indoors 4-6 weeks before the last frost date since they prefer cooler temperatures.
Tip 8: Understand the Desired Planting Time Outdoors
Another factor to consider is the desired planting time for your seedlings outdoors. Evaluate the growing season in your region and determine the optimal time to transplant your seedlings into the garden.
For example, if you want to have mature plants in early summer, calculate backward from the desired planting date. Keep in mind that certain plants, like flowers or herbs, may have specific blooming or harvesting periods you want to align with.
Tip 9: Adjust for Seed Germination Time
Seed germination time is the duration between planting the seed and when it sprouts. Some seeds germinate quickly, while others take longer.
Refer to the information on the seed packet or reliable gardening resources to determine the average germination time for each plant.
To ensure a seamless transition from seed to seedling, factor in the germination time when determining the start date for your seedlings.
Tip 10: Experiment & Talk With Local Experts
Gardening is a combination of science and art, and sometimes it’s helpful to experiment and learn from local knowledge. Consider talking to experienced gardeners in your area or joining local gardening communities.
They can provide valuable insights into the best times for starting specific seeds based on regional climate and conditions. Additionally, keeping a gardening journal can help you track the success of your seed starting efforts and make adjustments for future seasons.
Getting Started
Starting seedlings indoors is a rewarding experience that gives you a head start in your gardening journey. By providing the right conditions and care, you can grow healthy and robust seedlings that will flourish in your garden. Now that you have the knowledge and tools, you can start your seeds and watch your young plants thrive.
This is not only a rewarding practice for gardeners but also a meaningful way to contribute to a sustainable future. The Convoy of Hope Center for Agriculture & Food Security (CAFS) is dedicated to equipping individuals and communities with the knowledge and resources needed to cultivate thriving gardens and secure food sources.
By learning more about the Center for Agriculture & Food Security, you can discover how to get involved in promoting food security in your own community.
Together, we can make a difference in the lives of people around the world, ensuring access to nutritious food and fostering a sustainable future for generations to come.